Manage Notebook Instances
This feature enables the Provider Admin to manage Notebook Instance(s)
Note : This feature is only accessible to Provider Admin and other roles will not be able to see this feature listed as a part of the Analytical Model Management section
Following are the steps to create an instance :
- Click on “+” icon to create an instance as shown below
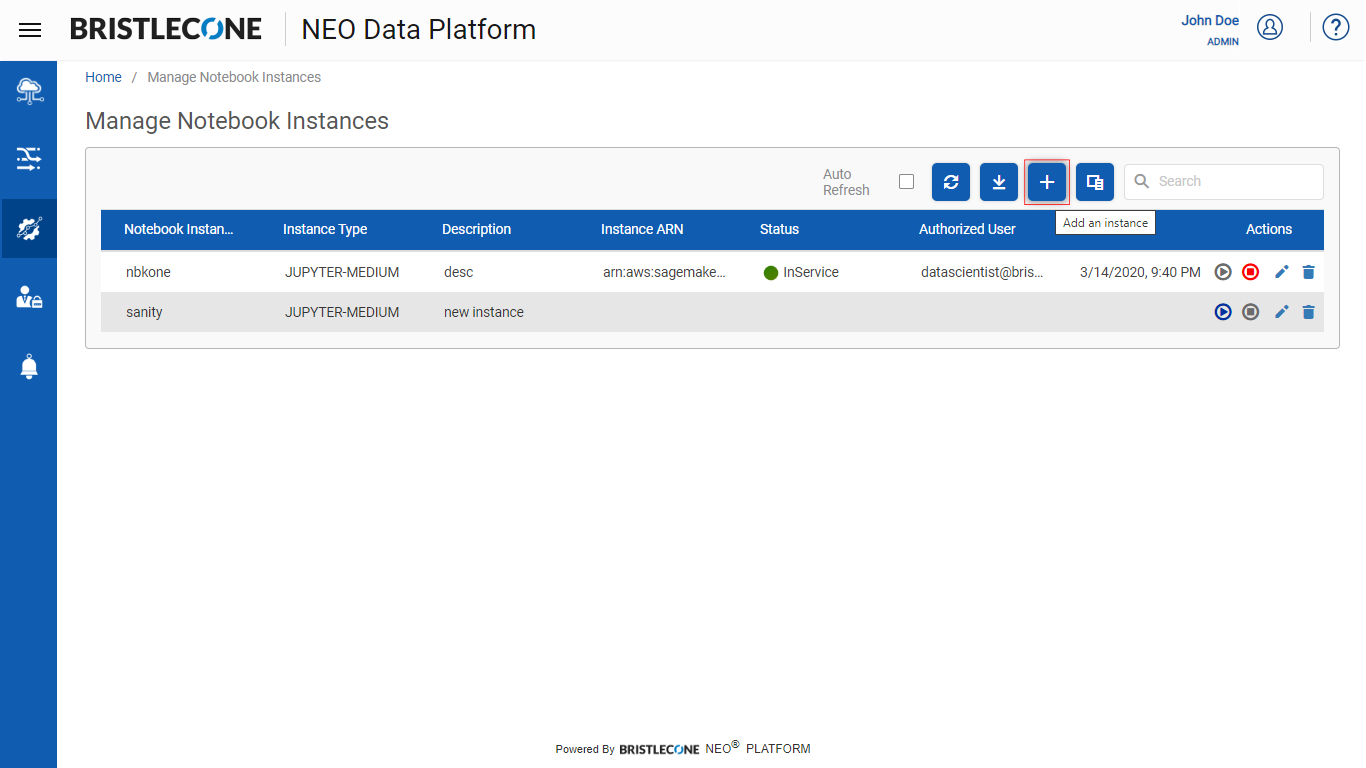
Following are the attributes required to create an instance
Notebook Instance Name : Enter the name of the instance to be created
Instance Type : Bristlecone NEO® Platform provides three different types of instances among which the user can select as per the requirement
- ml.t2.large
- ml.t2.medium
- ml.t2.xlarge
Description : User can provide a brief description about the instance to be created using this field
Instance ARN : This field provides the Amazon Resource Name of the specific instance
Status : A flag that that provides the current status of a given instance
Authorized User : Provides the mail id of the user who has created the instance
Launch Time : Provides the exact time at which the instance was launched
Actions :
- Start Instance : Enables the user to launch/start an instance
Click on the icon as highlighted below to start/launch an instance

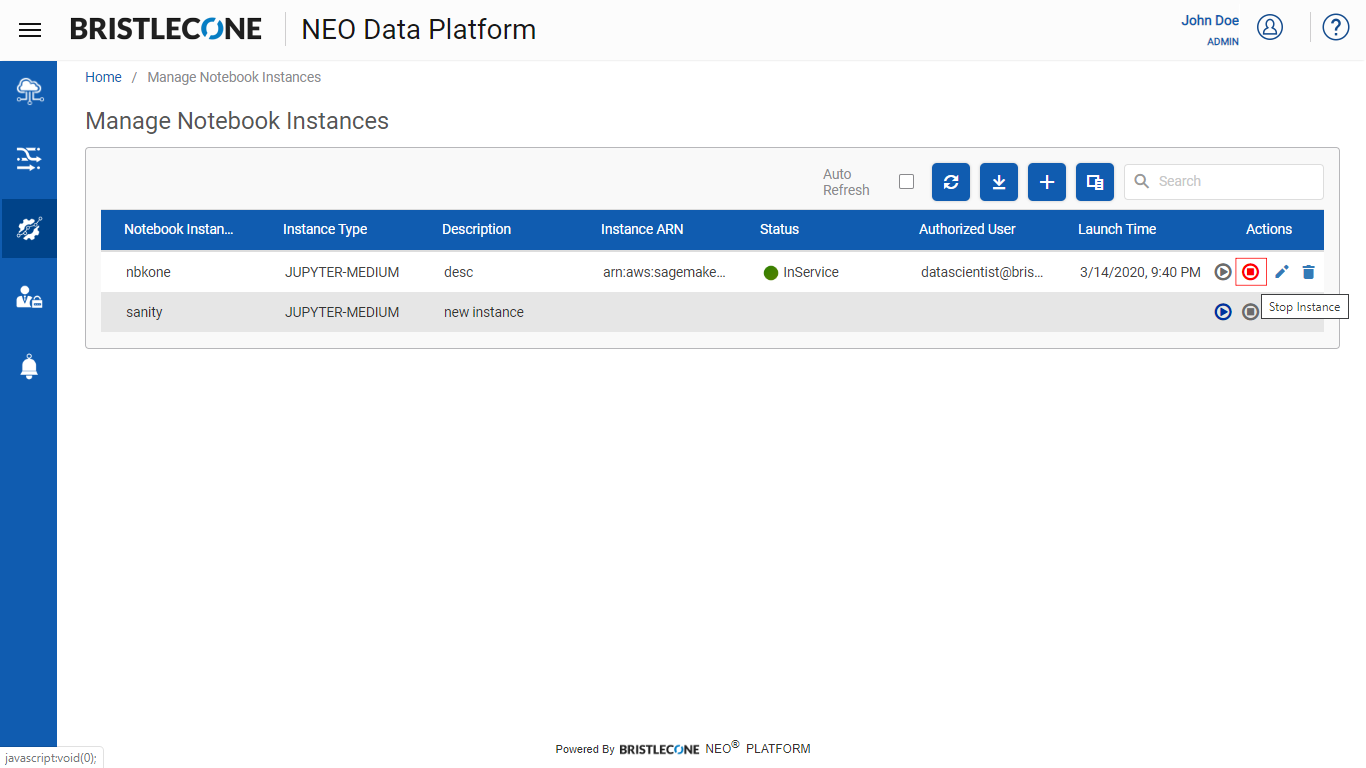
- Stop Instance : Enables the user to stop an instance
Click on the icon as highlighted below to stop an instance
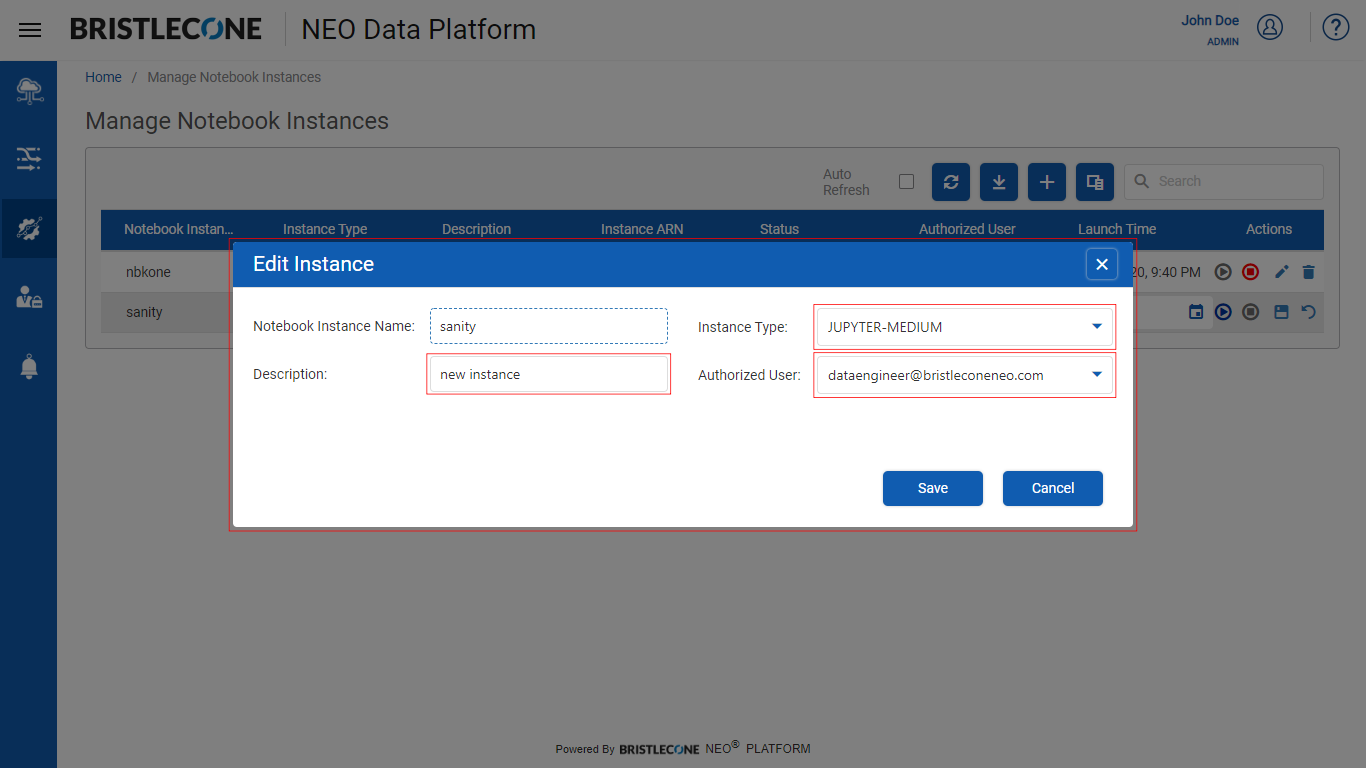
Edit Instance : enables the user to edit the following information
- Instance type : User will be able to change the instance type as per the requirement
- Description : User will be able to change the Instance description as per the requirement
- Authorized User : User will be able to change the e-mail id of the authorized user as per the requirement
Note : User will not be able to change the Notebook Instance Name
Click on Edit icon to edit a specific Notebook Instance as highlighted below

Post clicking edit icon, the user will be able to see an Edit Instance pop up as shown below
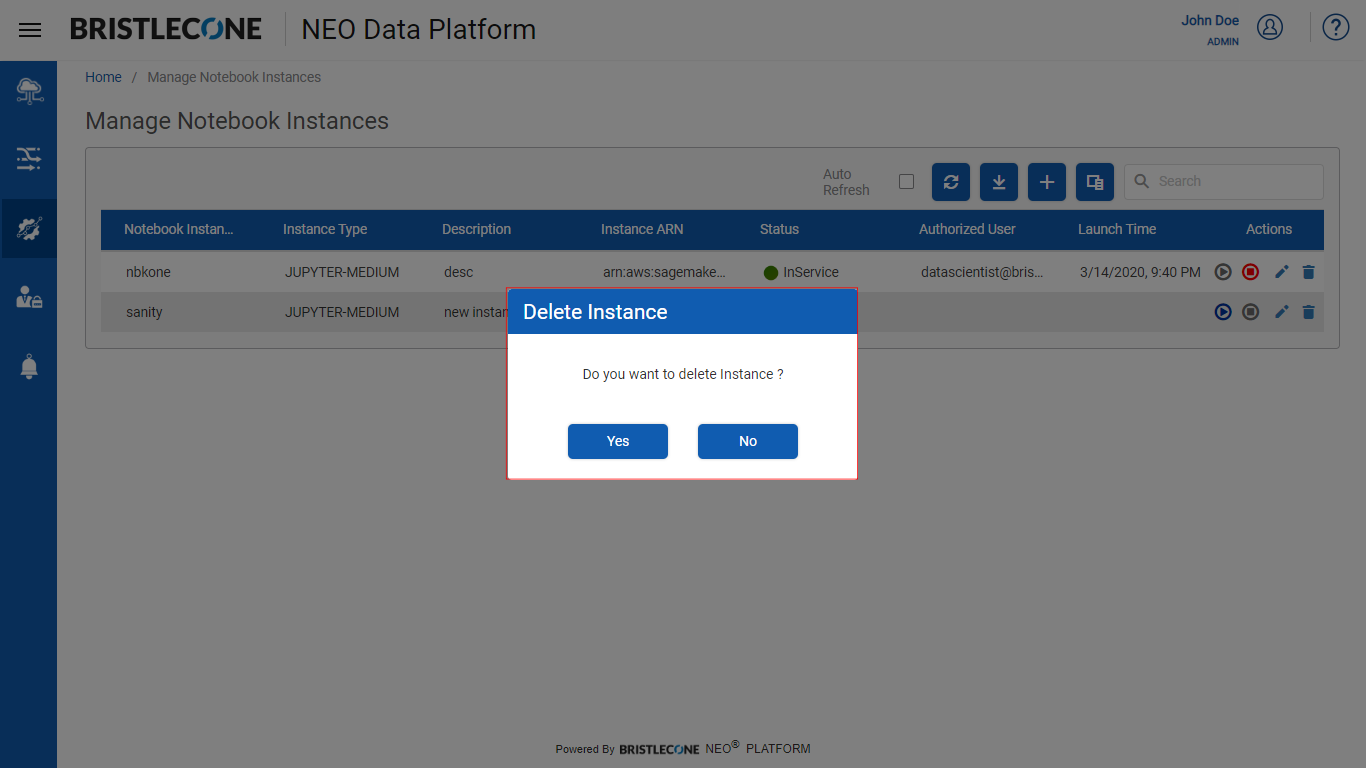
Delete an Instance : enables the user to delete an instance as highlighted below
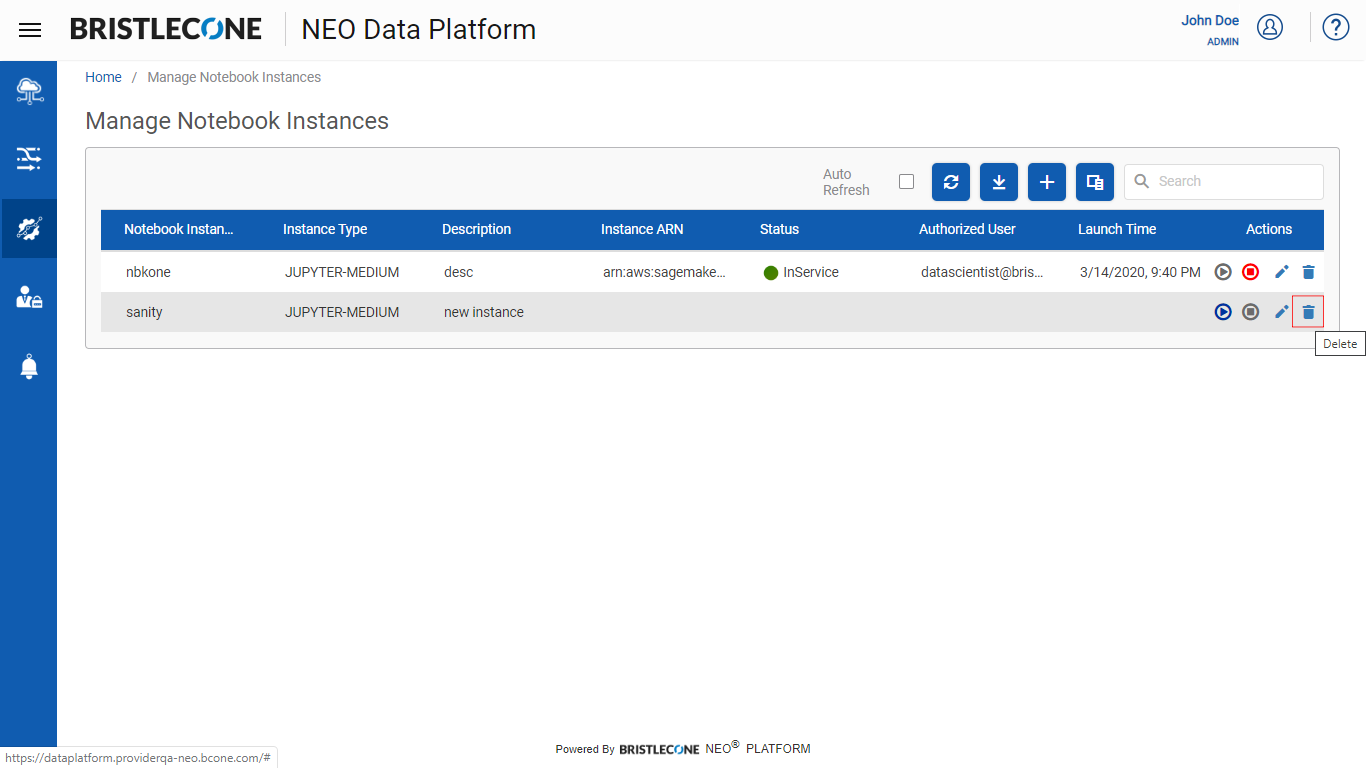
Post Clicking the delete icon, user will be provided with a pop up to confirm the deletion as shown below