Analytics Model Management
This feature enables the Provider Data Scientist /Business Analyst to define analytical models on the Bristlecone NEO® Platform
Publish Analytics Model
Following are the parameters to publish a model to be executed as a custom job on the Bristlecone NEO® Platform:
- Model Name: Provide a relevant name that indicates the purpose of the model
- Model Description: This field is used to input additional information about the Model created
- Model Native Type: In Release 1a, the Bristlecone NEO® Platform supports the following programming runtime
- Python
- R Script
- State: This flag indicates if the Model is Published or Unpublished
- Modified Date: Displays the most recent date of modification
- Modified By : Displays the email id of the user
- Action(s) : enables the user to perform the following actions on a Model
- Publish/Unpublish a Model
- Download a Model
- Edit a Model
- Delete a Model
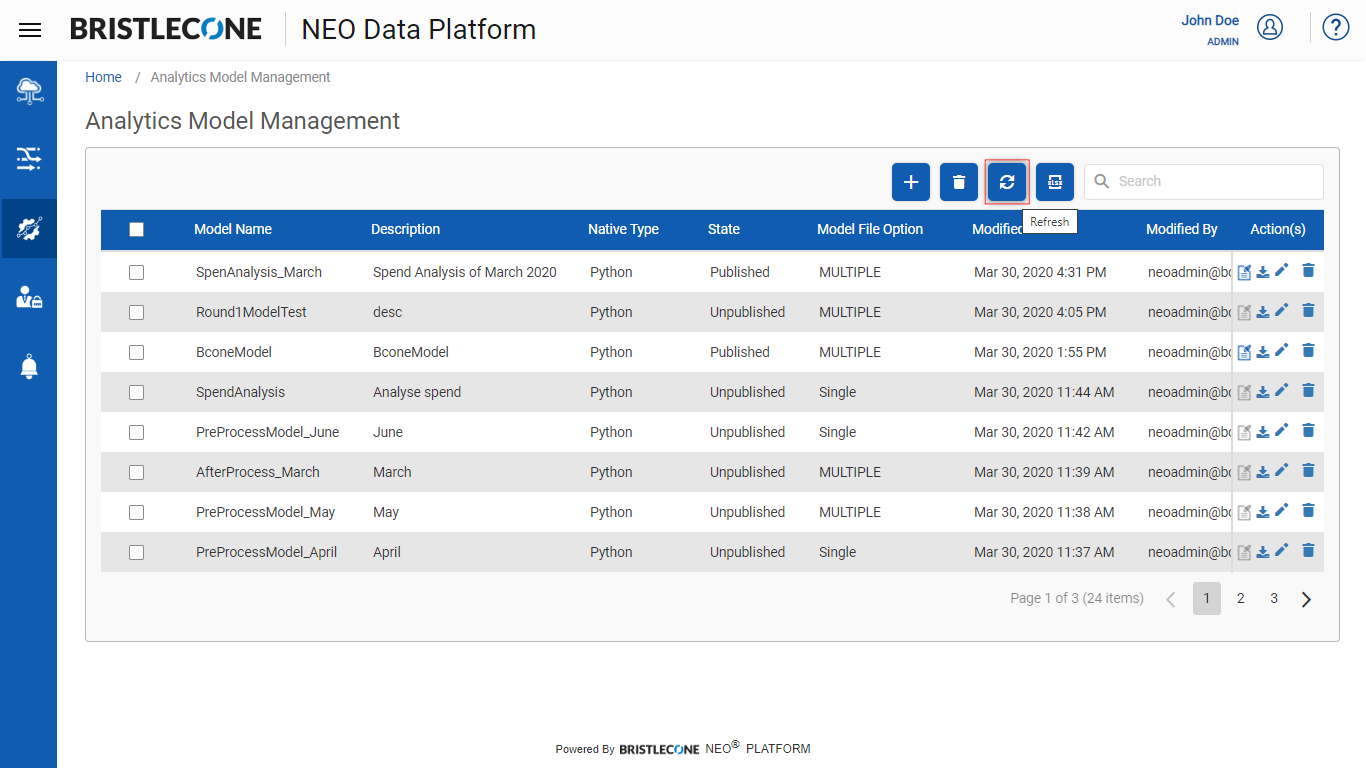
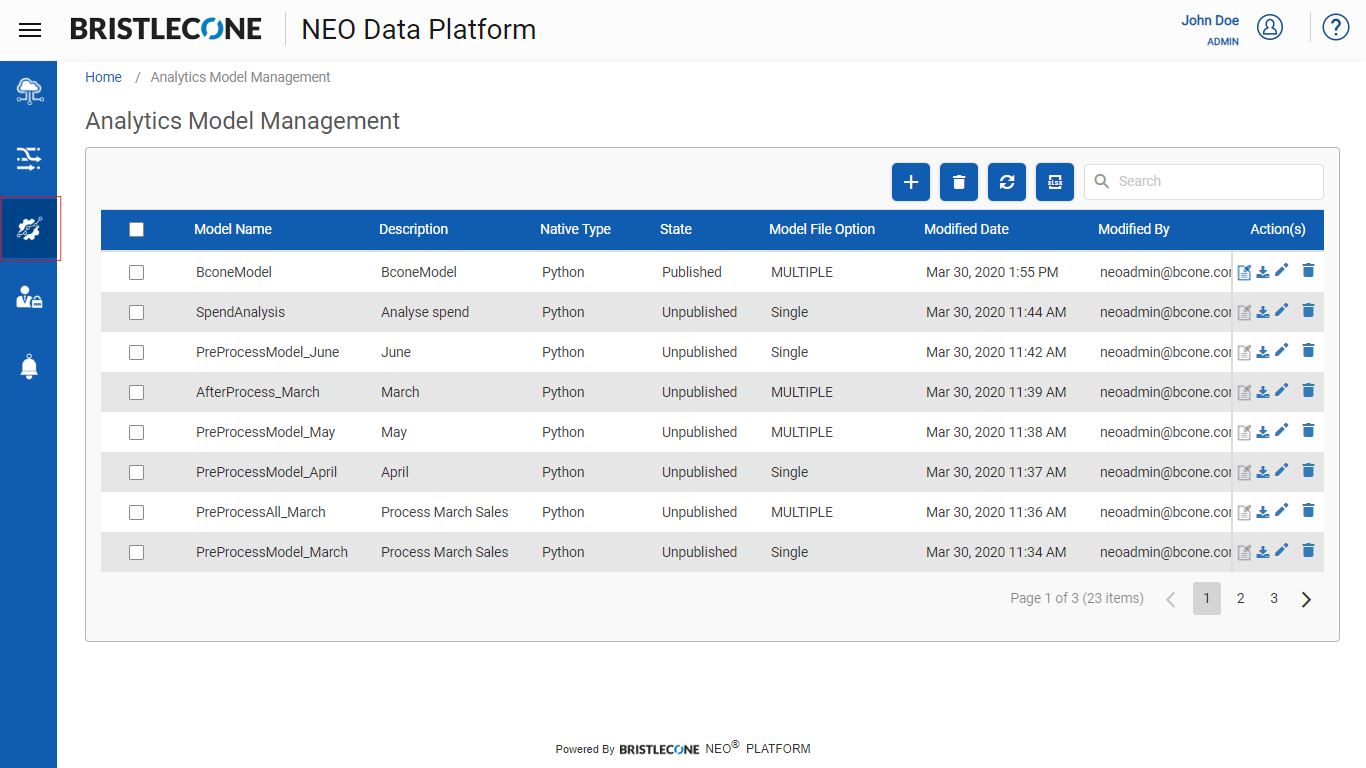
Analytics Model Management List Page is as shown below
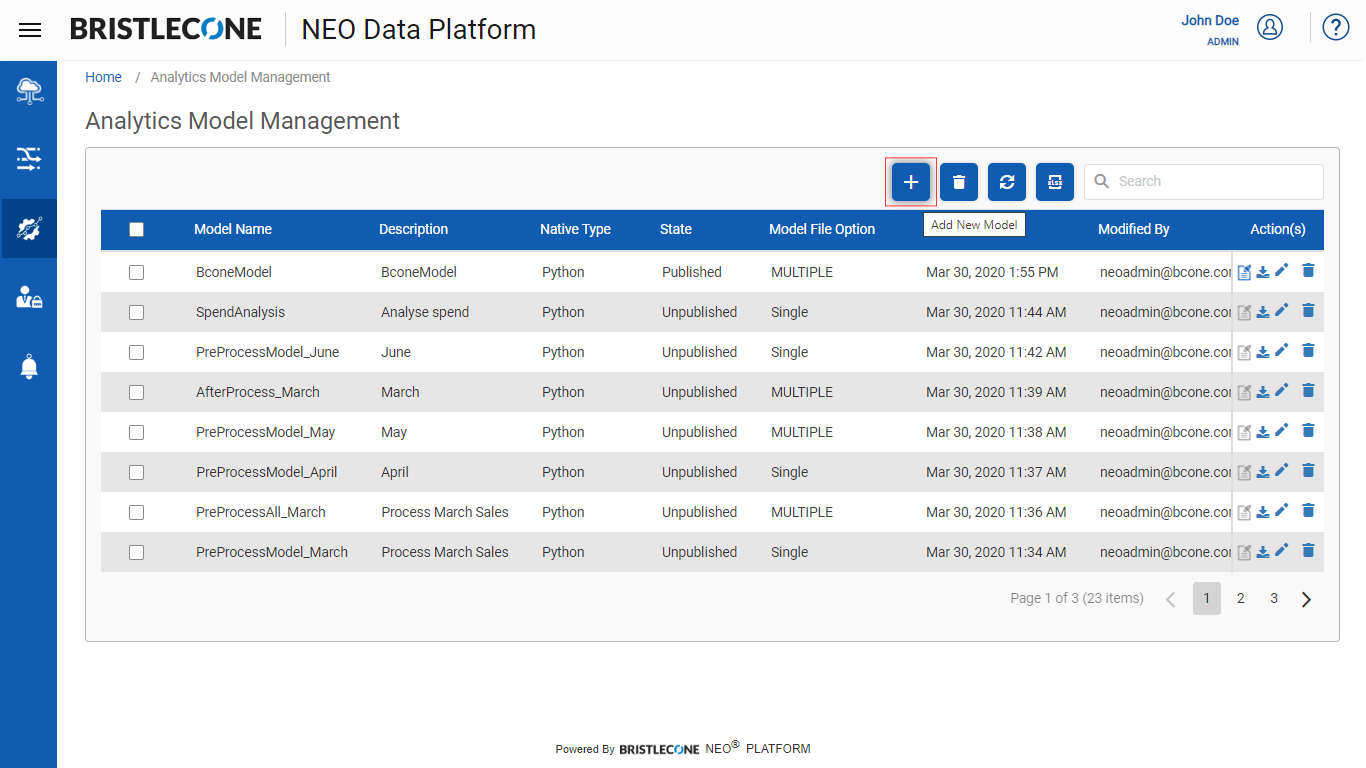
Add a Model
Steps to add an analytics model:
- Click on + icon to create/add a Model as shown below
There are two ways to upload the model’s Program File
- Single File: Upload a single program (Python /R) file using the Select File option
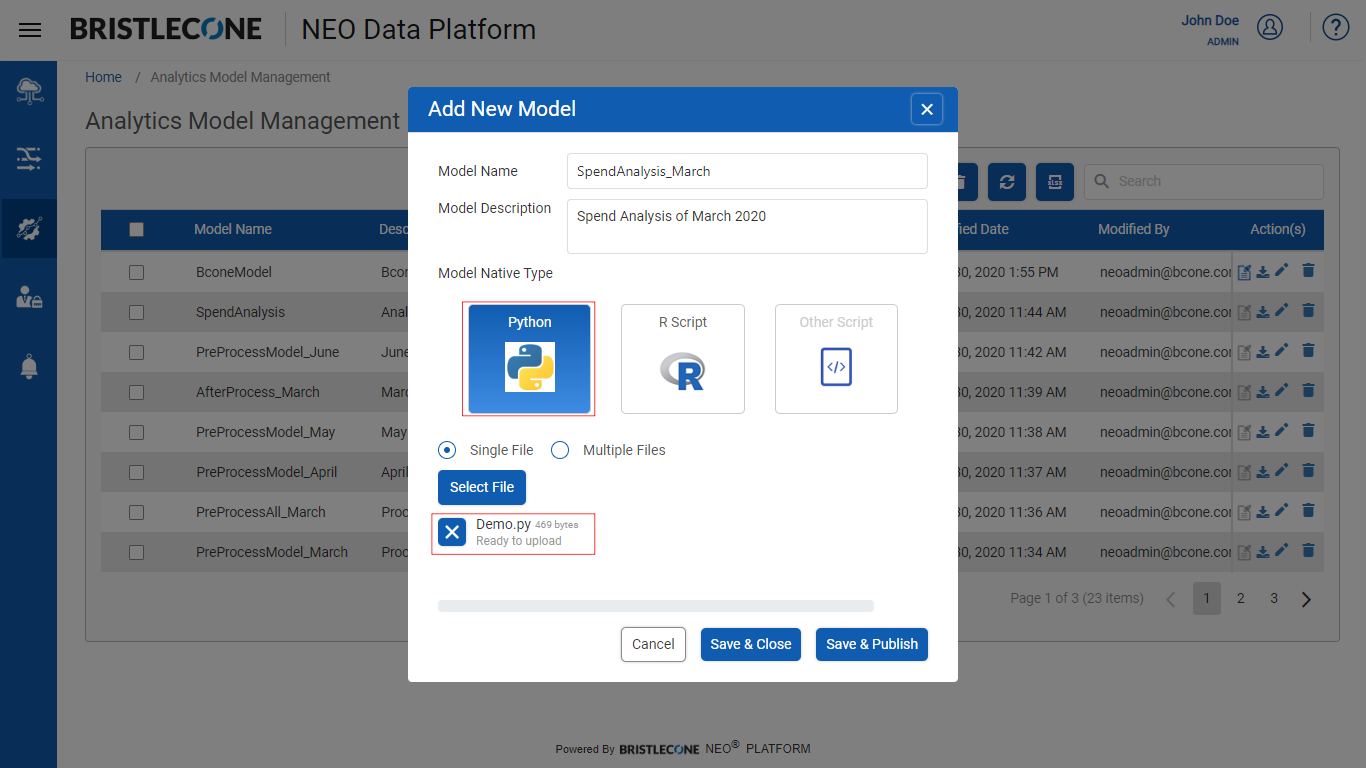
- Multiple files: This option is used when there are multiples files to create a model and there is a Main Program File which is the starting point in the model execution
Note 1 : Compress the set of files in .zip format
Note 2 : Indicate the start point of execution within these set of files – called the Main Program Name
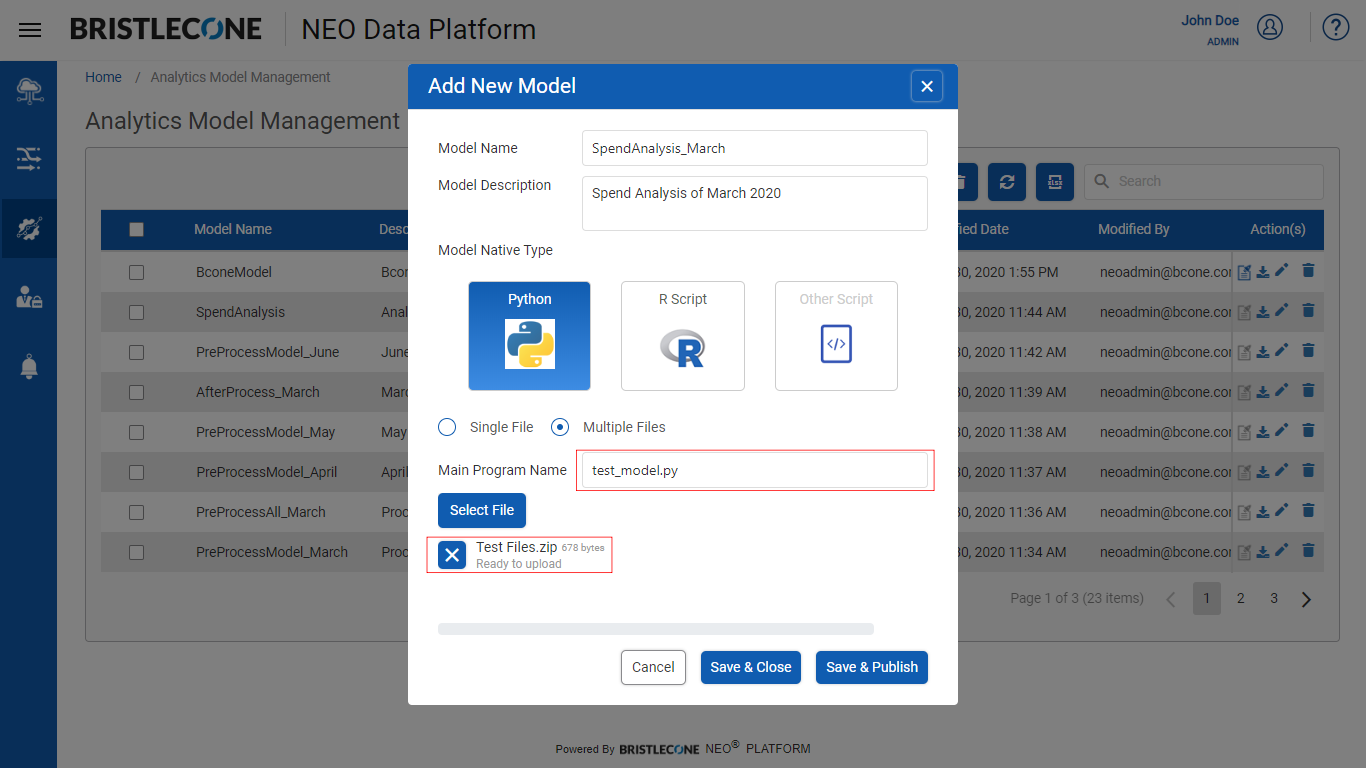
The Data Scientist has two options – to save the model or to publish the model to a data pipeline as a custom job
- Save and Close: This option will save the file and close the Add Model Pop up screen as shown in below screen capture
Note : This option will not publish the Data Model and hence the user will not be able to perform custom jobs using a Data Pipeline
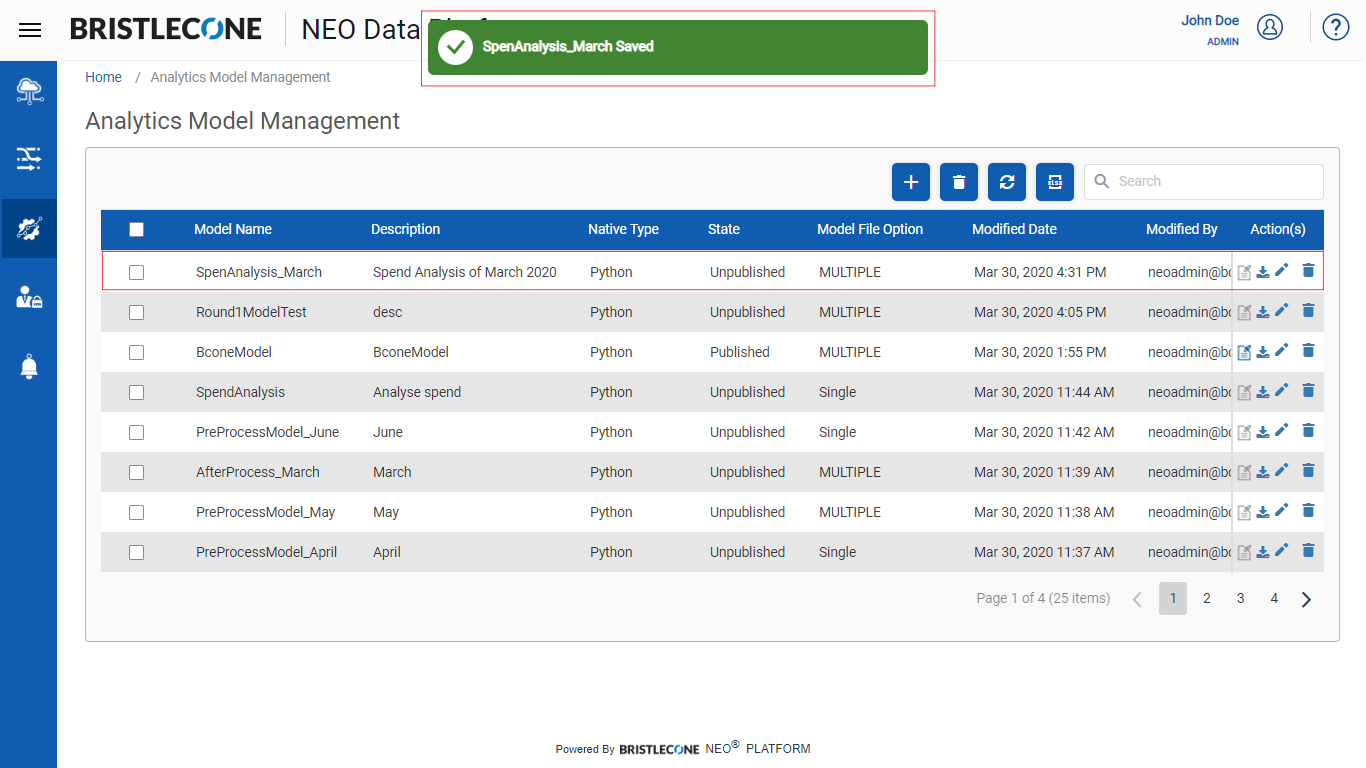
Once the model is saved and closed. It will be populated in the Analytical Model Management dashboard as shown below
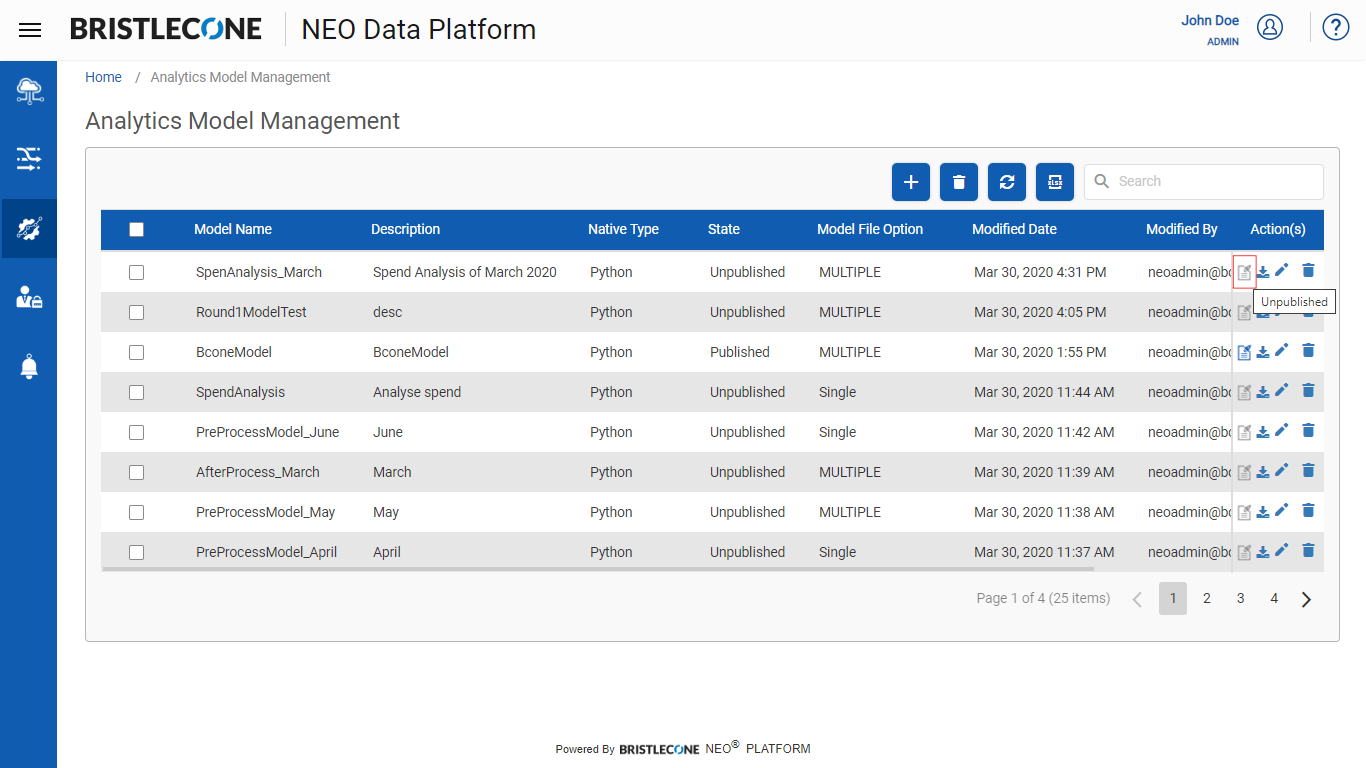
Click on the Publish/Unpublish icon as shown below
Click on the Publish button

Save and Publish: This option will save and Publish the File and make the model available to custom jobs using a Data Pipeline
Once the user publishes (makes the model available for Data Pipeline Custom Jobs) a notification appears as shown below

Note : This notification appears when the user publishes a model using the Publish icon in the Action column of the Analytical Management Dashboard
Post publishing , the Publish icon color changes to darker blue as shown below

Edit Model
Steps to Edit a Model
- Click on Edit Model icon as shown below

- Update the required fields (only Model Description and File Upload are editable)
Note : When multiple files are uploaded , user must declare the name of the main program
Post upload, Click on Update to save the changes
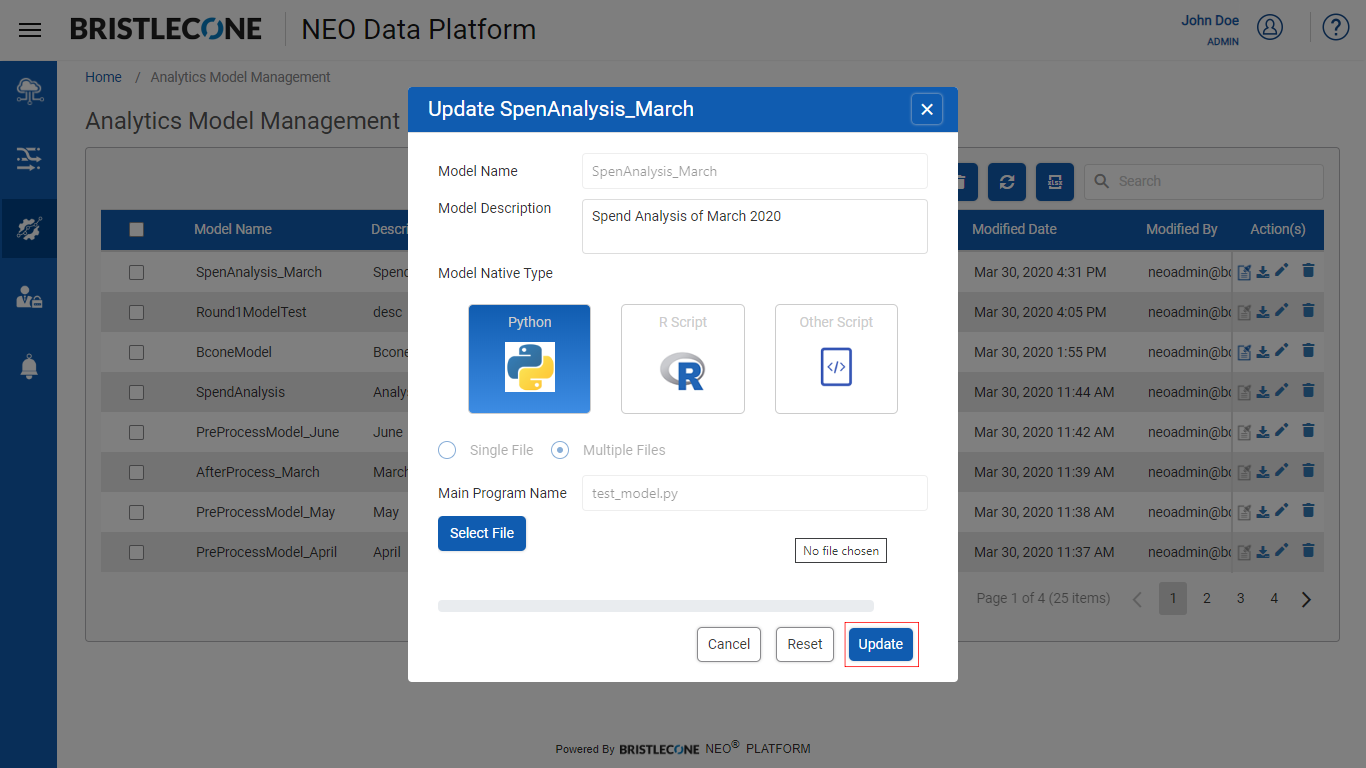
Note 1 : User can do the following using the “Edit Model “ feature
- Describe a Model
- Upload Python scripts
Note : User cannot change other attributes apart from the above mentioned functionalities
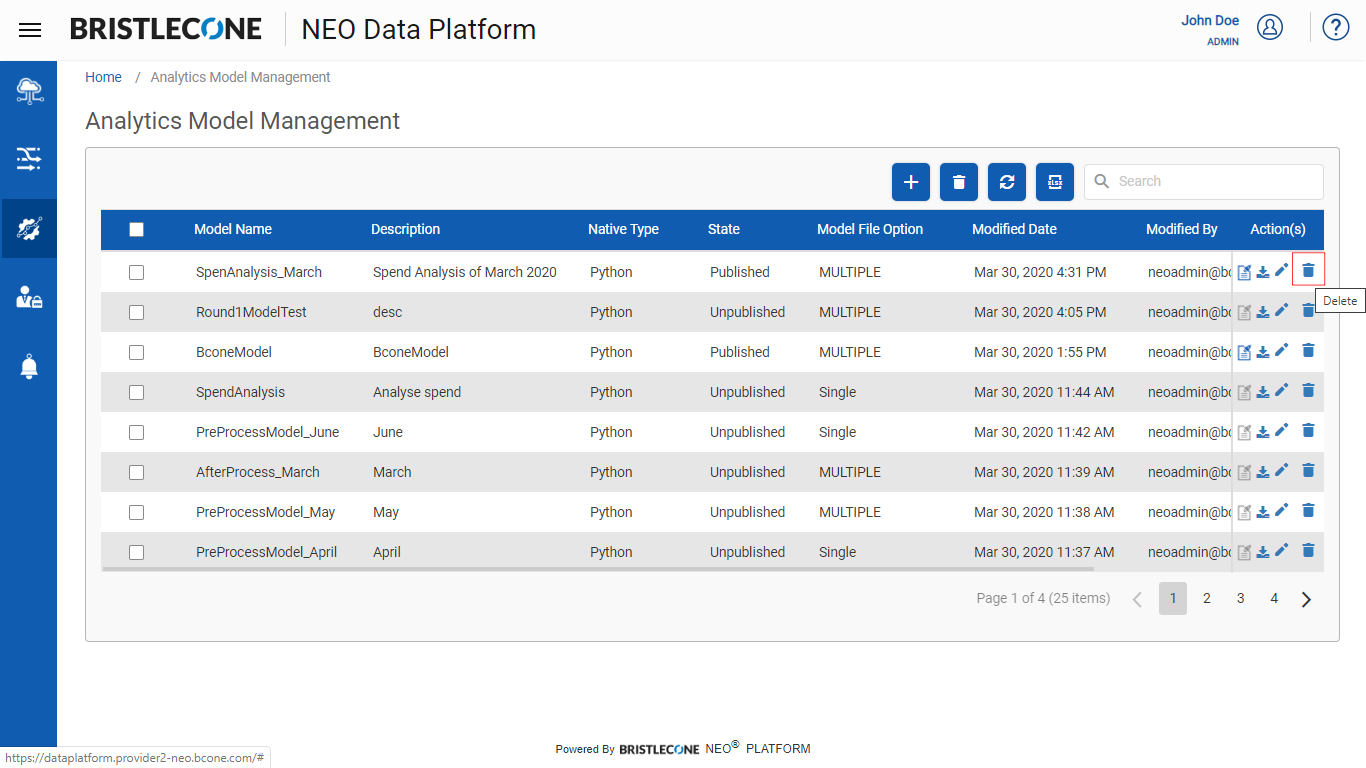
Delete a Model
- Click on Delete icon to delete the model
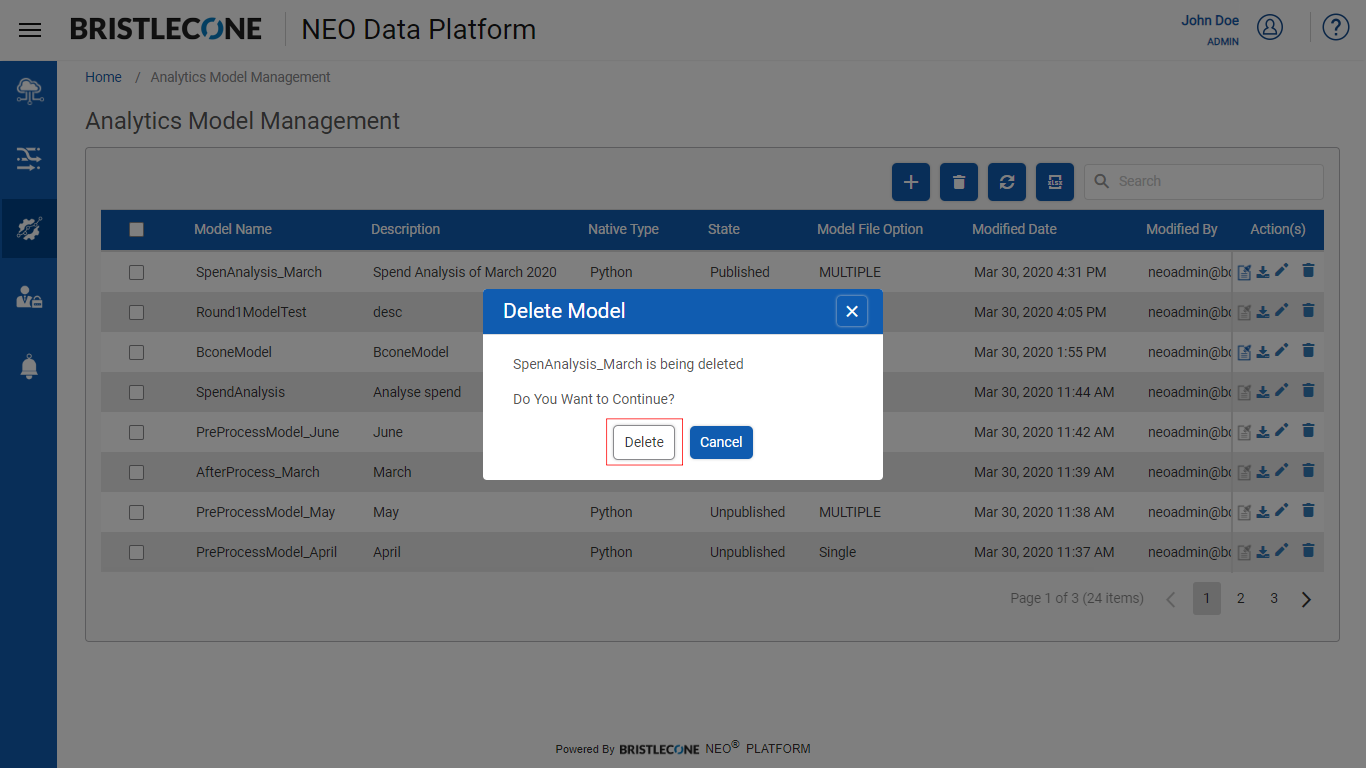
Now click on Delete button to confirm the deletion of the model
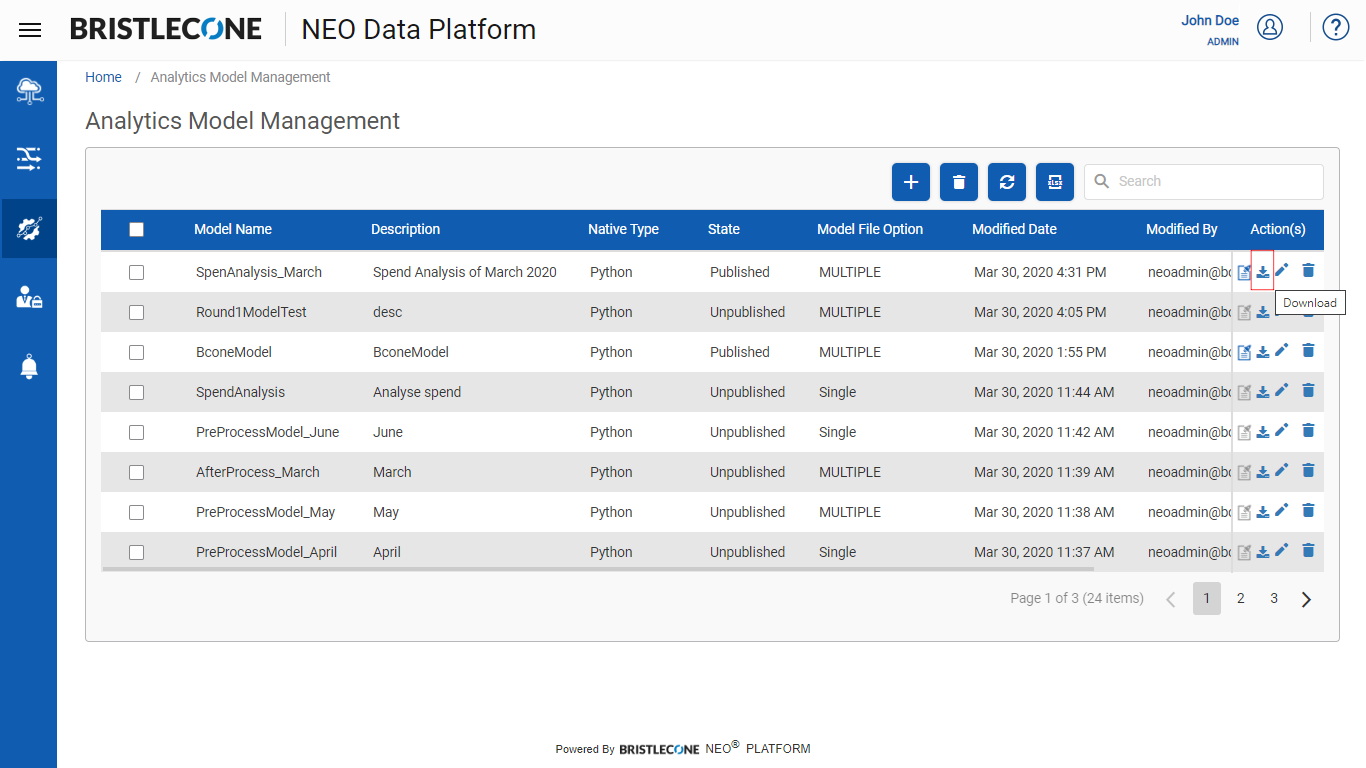
Download Model
- Click on Download icon to download the specific model as shown below
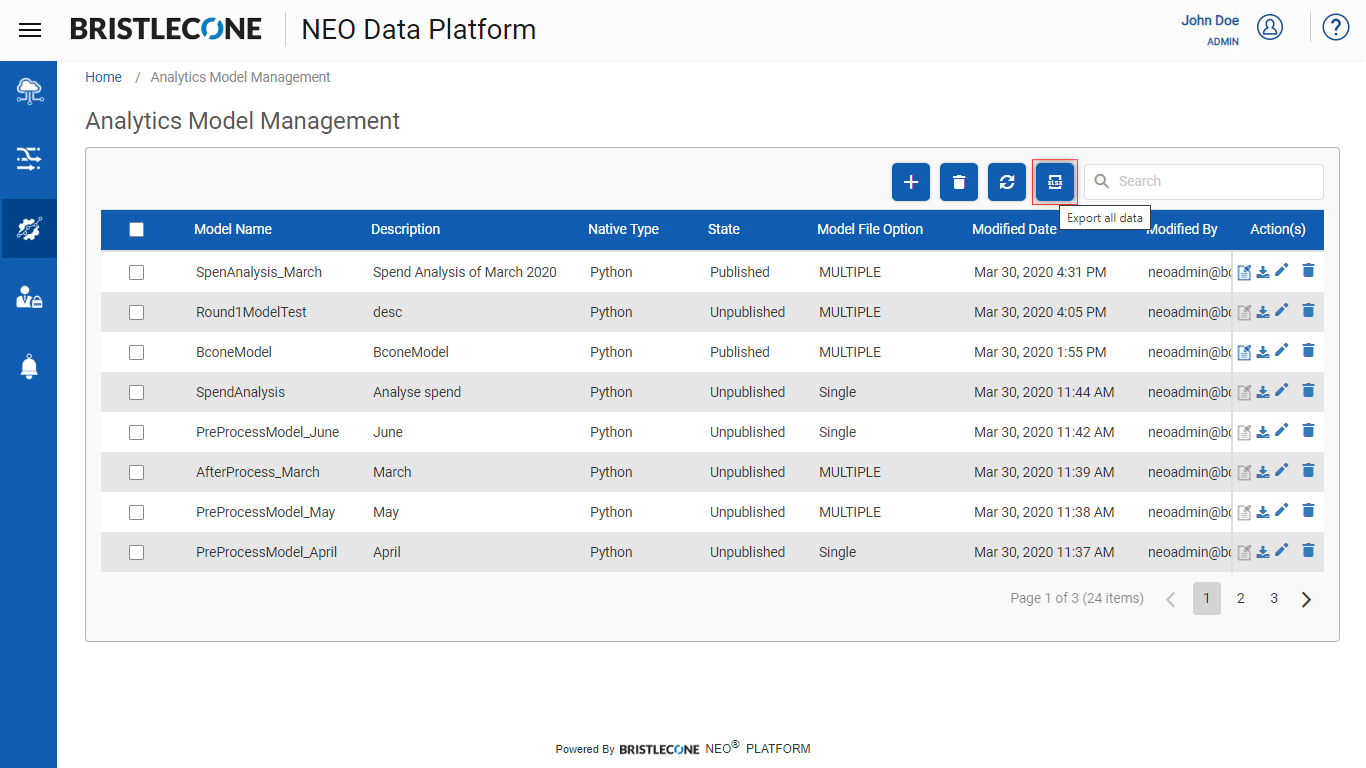
Export Model List
- Enables the user to export the entire list of Models tabulated in the Analytical Model Management List Page
- Click on Export icon shown below
Refresh List
Enables the user to refresh the list